Unlocking Seamless Integration with Spagic
In today’s interconnected digital landscape, businesses and enterprises rely on seamless system integration to manage data, automate workflows, and enhance productivity. Middleware solutions like Spagic provide a flexible and efficient way to integrate different applications, data sources, and services into a unified system.
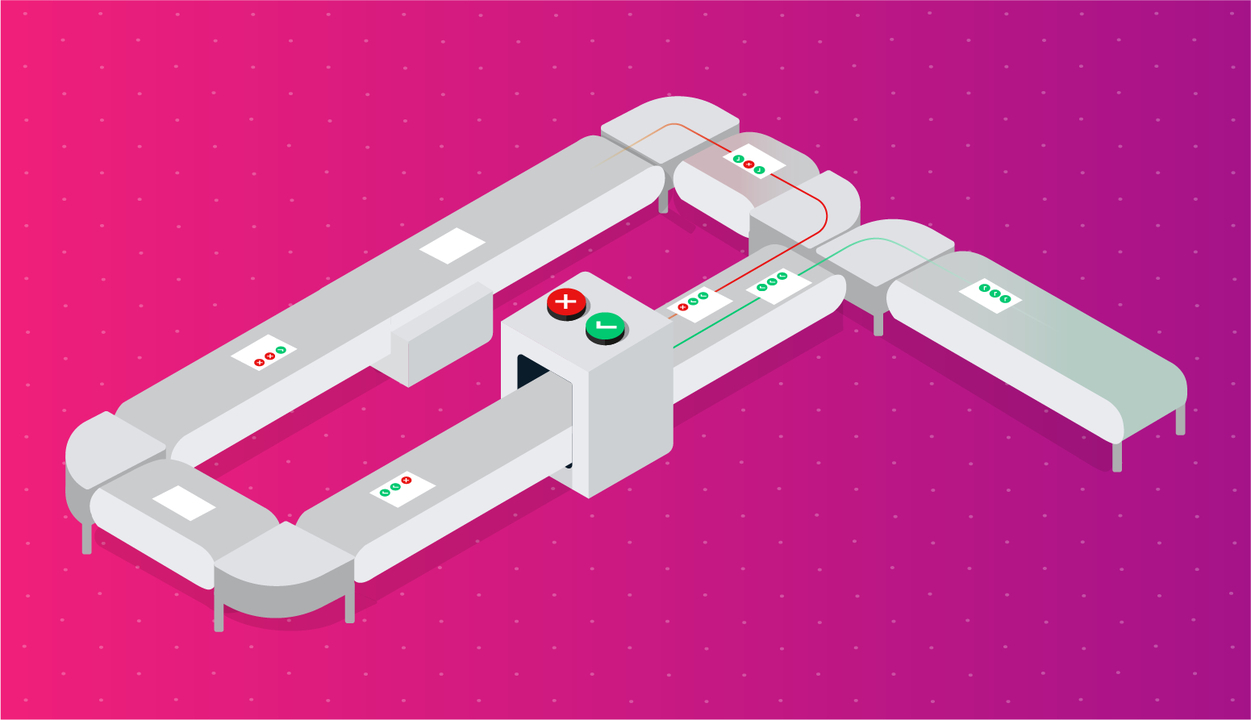
An integration workflow is the backbone of such automation, ensuring that data flows effortlessly between applications with minimal manual intervention. Whether it’s synchronizing customer records, processing financial transactions, or automating business operations, Spagic simplifies these complex integrations.
This guide will walk you through building your first integration workflow using Spagic. From understanding its core components to setting up, implementing, and optimizing your workflow, this step-by-step tutorial will give you a strong foundation for creating effective integrations.
Understanding Workflow Components in Spagic
Before diving into the actual implementation, it’s essential to understand the fundamental building blocks of a workflow in Spagic. A workflow is not just a sequence of automated steps; it consists of various components that define how data is received, processed, transformed, and transmitted across different systems.
1. Key Components of a Spagic Workflow
- Endpoints: These define the entry and exit points of data in the workflow. Endpoints can be databases, APIs, file systems, or web services.
- Transformations: This is where data is processed, cleaned, or reformatted to fit the target system’s requirements.
- Process Orchestration: Workflows in Spagic follow a structured execution pattern, which is managed by its business process execution engine.
- Triggers & Event Handlers: These define when a workflow executes automatically based on incoming data, system events, or scheduled tasks.
By understanding these components, you’ll be better equipped to build customized integration workflows that meet your business needs.
Setting Up Your First Workflow Project
Now that you understand the core elements, let’s start by creating a workflow project in Spagic. This section will guide you through setting up an integration workflow that connects two data sources and automates their synchronization.
1. Creating a New Workflow Instance
To begin, log into your Spagic web console and navigate to the Workflow Designer section.
- Click on Create New Workflow and assign a descriptive name to your project.
- Define the workflow type – whether it’s real-time, batch processing, or event-driven.
- Choose the data format (JSON, XML, CSV) and communication protocols (REST API, SOAP, FTP).
2. Defining Input and Output Data Sources
The next step is to specify where data originates from and where it should go.
- Input Source: This could be a database, external API, or a CSV file from a shared directory.
- Output Destination: Define whether the transformed data will be stored in a database, sent to another API, or trigger another system process.
3. Configuring Triggers and Event Handlers
Triggers define when the workflow runs:
- Time-based triggers: Execute at a scheduled interval.
- Event-driven triggers: Execute only when a new event or data entry is detected.
- Manual triggers: Require user intervention to start.
Once these are configured, you have successfully set up the foundation of your workflow.
Implementing a Simple Data Integration Workflow
Now that your workflow is configured, let’s implement a basic data transformation process to demonstrate Spagic’s capabilities.
1. Mapping Data Flows Between Two Systems
For this example, let’s assume you’re integrating a customer database with an e-commerce system.
- The source database stores raw customer records in CSV format.
- The target system requires the data in JSON format for API-based ingestion.
Using Spagic’s Data Mapping Tool, you can define transformation rules that will convert CSV input into structured JSON output.
2. Configuring Message Transformation Rules
Spagic provides a powerful data transformation engine that allows you to reformat, enrich, and filter data before it reaches the target system.
- Set up data validation rules (e.g., ensuring phone numbers are properly formatted).
- Apply business logic filters (e.g., only processing orders above a certain value).
- Map fields dynamically, ensuring compatibility between systems.
3. Testing and Executing the Workflow in a Sandbox
Before deploying the workflow in production, testing is crucial.
- Use Spagic’s built-in testing environment to simulate different scenarios.
- Check if the data transformation logic works correctly.
- Monitor the workflow execution logs to identify errors or bottlenecks.
Once the tests are successful, move forward with deployment.
Deploying and Monitoring Your Workflow
1. Deploying the Workflow to Spagic Runtime
Deployment involves activating the workflow so that it can begin processing live data.
- Click Deploy within the Spagic console.
- Choose the runtime environment (e.g., test, staging, or production).
- Set up permissions and security policies to control access.
2. Using the Monitoring Dashboard
After deployment, monitoring is key to ensuring workflow stability.
- The Spagic Monitoring Dashboard allows you to track execution logs, error messages, and processing times.
- Configure email or webhook notifications for critical failures or performance alerts.
3. Debugging and Performance Optimization
If the workflow encounters issues:
- Review the error logs to diagnose potential data mismatches.
- Adjust transformation logic or reconfigure endpoints if required.
- Optimize database queries to reduce execution time.
Best Practices for Workflow Optimization
As you gain experience, refining workflows will improve efficiency and scalability. Here are best practices to keep in mind:
1. Managing Scalability and Performance
- Implement parallel processing for high-volume workflows.
- Optimize database queries to prevent bottlenecks.
- Use caching techniques to reduce redundant API calls.
2. Securing Data Exchange and API Endpoints
- Enable data encryption during transmission.
- Implement API authentication mechanisms (OAuth, JWT tokens).
- Regularly audit system logs for security vulnerabilities.
3. Automating Workflow Error Handling
- Configure retry mechanisms for failed transactions.
- Set up fallback paths for alternative processing when primary endpoints fail.
- Automate logging and alerts for better debugging.
For more insights on optimizing workflows for better performance, explore our guide on optimizing Spagic performance.
Expanding Your Workflow Skills
Congratulations! You have successfully built and deployed your first Spagic integration workflow. However, this is just the beginning of what Spagic can do.
To advance your skills, consider exploring:
- Advanced Orchestration Techniques: Learn how to chain multiple workflows.
- Real-Time Event Handling: Implement event-driven architectures.
- Integrating Microservices: Use Spagic to manage API-based microservices communication.
By continuing to experiment and implement more complex use cases, you will master middleware integration, unlocking powerful automation capabilities for your projects.
Now that your first workflow is live, it’s time to build, optimize, and innovate with Spagic!